Sunday, December 28, 2014

Mom's Mac N Cheese

Just about everybody loves macaroni and cheese and just about everybody's mom makes it a little bit different. 

Since I was home for the holidays this past week I thought I would have my mom make her beloved macaroni and cheese.....and I pretended to help, but really just took pictures. 

This recipe is great for an entire family or just for two. A single batch fills a 8x8 inch pan or you can do what we did and split it into smaller containers...so that I could steal the rest to stash in my freezer for later.

Ingredients:   
1/4 cup of butter
1/4 cup of flour
2 1/2 cups of milk
8 oz. of shredded sharp cheddar cheese
1 1/4 cups of elbow noodles

Bring a medium sized pot of water to a boil over high heat.
Pour in the uncooked elbow noodles, and continue to boil for about 10-12 minutes or until they are al dente.
Pour the noodles into a strainer and set aside for later. 

Preheat oven to 400 degrees. 

First you make a rue (butter, flour, milk)!!
Add 1/4 cup of butter to a pot and melt over medium heat. 


Once the butter is melted, remove from the heat add a 1/4 cup of flour and combine using a whisk. 
Gradually add the milk while continuing to whisk. 


Once combined, return to the burner at medium heat. 
Bring the mixture to a simmer, while stirring frequently to keep the sauce from burning to the bottom.
As your stirring your mixture and bringing it to a simmer, it should start to thicken...you now have a "white sauce". 

Now that your sauce is simmering, it's time to add the best part....the cheese!!!
Add the shredded cheddar to the sauce and stir until it is completely melted.


Add in the cooked elbow noodles and stir together. 


Pour the mixture into a greased 8x8 inch pan or multiple smaller dishes. 


Bake in the oven for 15 minutes or until the top starts to brown.


Thursday, December 25, 2014

Christmas...Like A Lady

Well, well, well it's that time of year again.
That time when we all take a moment to reflect on the people and things we are grateful for in our lives and gift the ones we love with hand picked presents. 

You want to know what crossed my mind a few times this cheerful season....
Why does Christmas have to be "womens work"???
Why is it that Christmas has to be so much work for the ladies while the men in our lives get to sit back and enjoy the spoils?  

Lets examine the evidence shall we...

Exhibit A: Shopping for gifts
Why is it that I spent every day scouring the planet for perfectly thought out presents for over a month? Why is it that I spent nights after work in department stores until ungodly hours, only to finally go home practically crippled due to the lack of appropriate shopping footwear? (Sneakers ladies...sneakers) Why do I do this?....because I care.
My dad waits until Christmas Eve every year to START his Christmas shopping. You want to know who is brought along to be the sidekick in this extravagant display of procrastination.....me or my sister. Someone has to go with him or who knows what my poor mother would receive on Christmas morning. (He once went shopping without me and got her a dust pan....a giant yellow obnoxious dust pan) Once we have finished this yearly epic department store battle alongside countless other scrambling men who are scouring the mall for last minute gifts, he says "well that was easy, I don't know what you girls complain about every year".
Or there is the other type of man who buys a bunch of gift cards and cigars for "his boys", dusts off his hands and calls it a year. Yeah that doesn't sound like any boyfriend I know....

Exhibit B: Holiday Treats 
This is a rip off...one giant yearly rip off!!
Somehow every year we find ourselves elbows deep in flour, making holiday cookies and other treats to give away to our neighbors, friends, and coworkers and where are the men you ask? Their batting their eyes from the sofa while asking for a glass of milk to wash those treats down with.
You want to know the only thing women gain from holiday cookies......weight!!
By the time I'm done shopping for gifts and wrapping them, I'm half asleep on the sofa watching "Boardwalk Empire" while simultaneously drowning the pain from my aching feet with some good old fashioned classic chocolate chip. I then head straight to bed while my good jeans are sobbing in my dresser drawer saying "I'll see you after you make your New Years resolution to get in shape".
Maybe next year I won't even make cookies, since everyone has magically become allergic to gluten anyways and I don't know if I can bring myself to go through the learning curve of making anything gluten free taste remotely edible.

Exhibit C: Holiday Cards
Holiday cards are a dirty rotten game I just can't win.
Not surprisingly I have to be the one burdened with the responsibility of thinking of a way to represent our entire year as a couple in one card...it's impossible.
I'm lucky to get one picture (or picture session) a year from Kevin and that has to be good enough to count as my Facebook profile picture, our holiday picture, my birthday picture, his birthday picture, our engagement picture (if that should happen within that particular year), valentines picture, St. Patrick's day picture, etc. etc. etc.
If sending out a Christmas card with our picture on it has to involve me being around an extremely unhappy Kevin with a festive jingling Santa Claus hat on for any length of time, I'm going to have to take a hard pass on having a card for the year.
Hats off to the ladies who manage to get their kids to sit still long enough to get a picture where their not crying or hitting their sibling over the head with a candy cane, you are much stronger than I am.

So, what shall we do about this?
Yes we could boycott but lets face it, when it comes to Christmas...we are the magic and things just wouldn't be the same without us.
So next year we will trudge on like usual and make everything sparkle and taste amazing.

We all know that Mrs. Claus is the real reason all those gifts get out on time anyways...just sayin'. 


Sunday, December 14, 2014

Oatmeal Cranapple Bars

So it's the holiday season which means that in houses all over, it's cookie time!

Personally I get a little tired of cookies on top of cookies on top of cookies, so I throw in these tasty oatmeal bars once in a while to change things up.
Plus, this recipe is actually easier than cookies....well sort of.

So even though I've made this recipe numerous times in the past, like every cook does occasionally...I made a boo boo.
A major, throw it all in the trash and start over, boo boo. 

Let me just preface this recipe by saying, FOR GODS SAKE USE THE RIGHT AMOUNT OF BUTTER!!!
I mistakenly used only 1/4 cup of butter instead of 3/4 cup and things didn't go well...meaning it didn't bake!

After turning off my Christmas music (because it was just too cheery for the moment), dramatically throwing everything in the trash, and stomping around for a about ten minutes I sucked up my pouty lip, had Kevin run out and buy me new ingredients and started over.....with the music back on.  
Luckily, like I said before, this recipe is not hard or time consuming so starting over wasn't a huge deal in the end. 

Really what is the Christmas season without a few mishaps?

Ingredients: 
1 packaged box of yellow cake mix
2 cups of old fashioned oats
1/2 cup of dried cranberries
3/4 cup of butter, melted
1 cup of chunky apple sauce
1/4 teaspoon of apple pie spice
Foil
9x13 baking dish


Preheat oven to 375 degrees.
Line a 9x13 baking dish with foil so that there is enough hanging over the edge to pull the bars out of the pan later. 
Lightly grease with cooking spray.


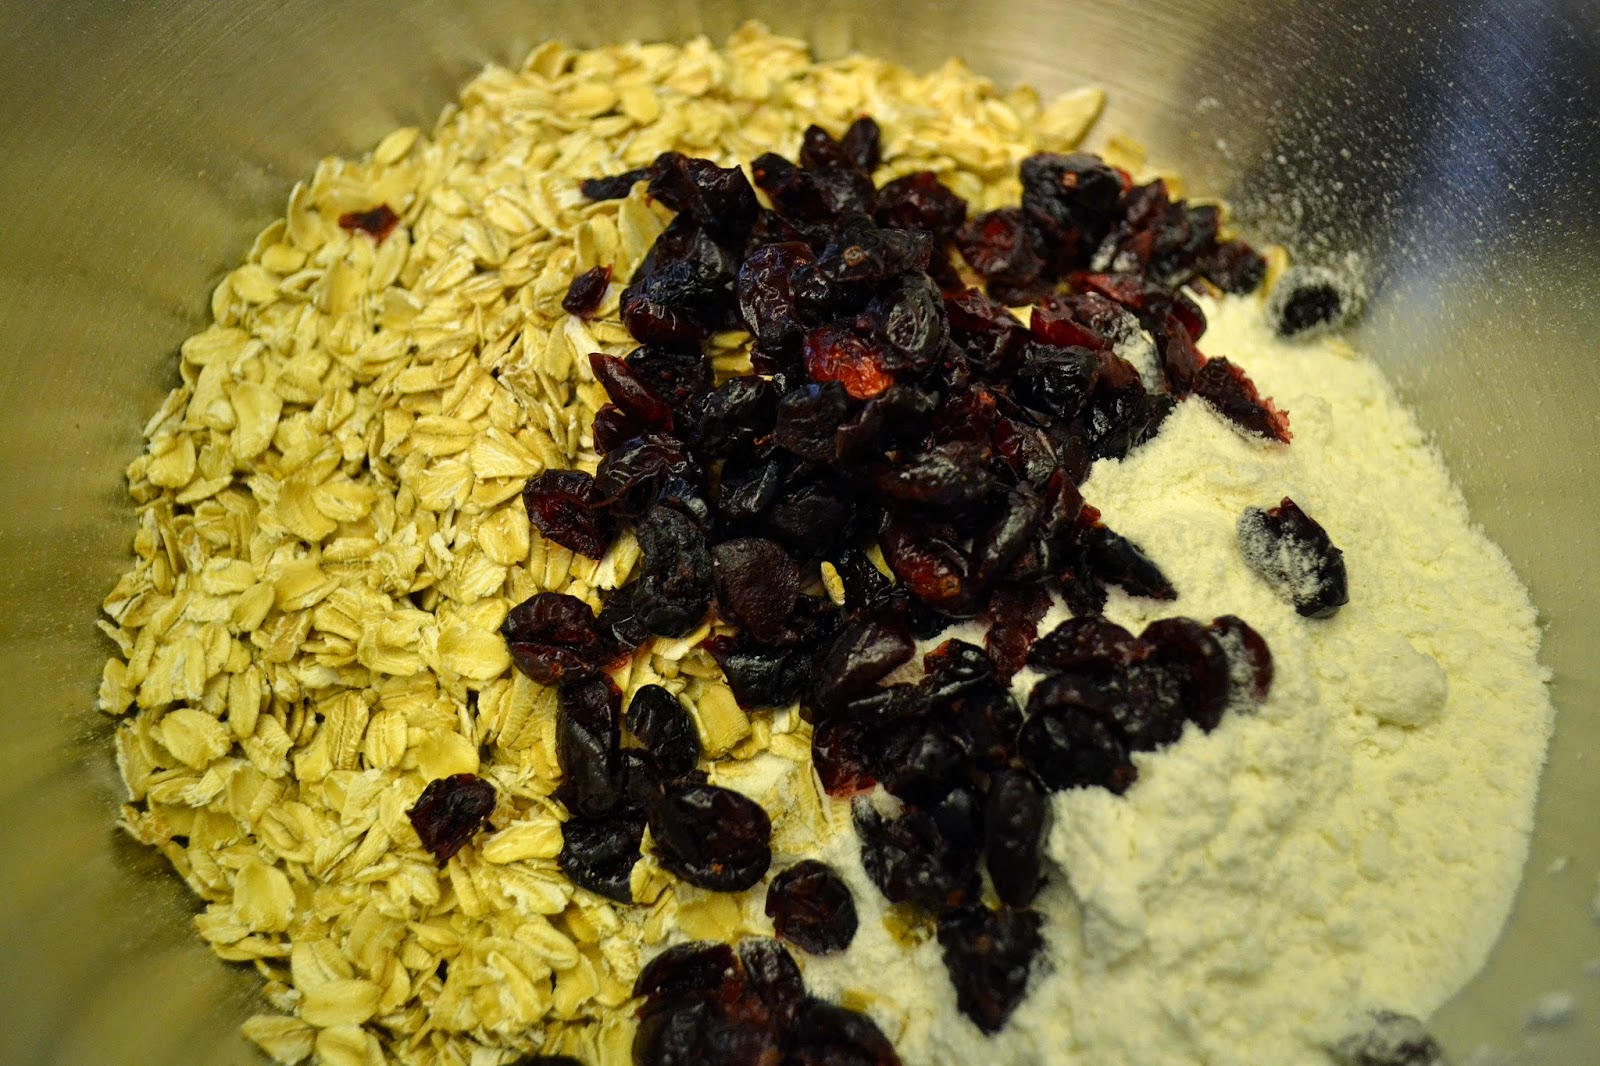
In a large bowl, add the cake mix, oats, and cranberries.


Melt 3/4 cup of butter and pour into the oat mixture. 
Use a fork to mix in the butter until it becomes crumbly.


Take half of the oat mixture and press evenly onto the bottom of the pan making sure that there are no empty spaces.


In a small bowl mix together the applesauce and apple pie spice.
Spread evenly on top of the bottom layer of oats.


Take the second half of the oat mixture and evenly sprinkle on top of the applesauce.
Lightly press just so it barely covers the applesauce.
The top is more of a crumble, so there is no need to press down as hard as the bottom layer.


Bake for 30 minutes or until the top starts to lightly brown. 
Remove from the oven and place on a wire rack to cool for about an hour.


Once the pan is completely cooled, carefully use the ends of the foil to remove the whole sheet from the pan and onto a cutting board.


Cut into bars or squares. 


Sunday, December 7, 2014

Leftover Mashed Potato Pancakes

Greeting everyone!
I hope that you all had a wonderful Thanksgiving and spent as much time with your loved ones as possible!

I have been extremely absent from my blogging duties since the holiday and that's because they don't put on the Black Friday flyers that while your getting all those clothes at Old Navy 50% off your also getting someone else's cold for FREE. 
By the time I drove back to my house on Saturday night I had reached the first dimension of common cold hell, but after numerous skipped dinners, to many tissues to count, and one NyQuil coma I am feeling much better and can actually sit down and put a sentence or two together.  

I was so excited to post this recipe right after Thanksgiving but c'est la vie!

The sides are definitely my favorite part of the big feast. I could even go without the turkey if it wasn't the cooking vessel for my beloved stuffing. Usually in my house their are always leftover mashed potatoes and I always have to rescue them from going into the trash because no one wants to save them. The problem with left over mashed potatoes is that they never taste the same as when you first made them and they usually get dry and crumbly. 

This recipe is a great way to bring new life to those leftover spuds with the added benefit of getting a head start on breakfast the next morning. 

Ingredients: 
3 cups of cold mashed potatoes
1 egg, beaten 
3 Tablespoons plus 1/2 cup of all purpose flour
2/3 cup of shredded cheddar cheese 
2 Tablespoons of chopped green onion 
Vegetable oil 

Now let me first say that I apologize for the lack of pictures but if you knew what my entire family is like inside my moms small kitchen, you would understand how there is no safe place for a camera. 

*It is important that your mashed potatoes are nice and cold for this to work or else you are going to get really frustrated when they are doing nothing but sticking to your hands. 
*Also everyone makes potatoes with different moisture levels so the amount of egg and flour you add will vary.

First, shred 2/3 of a cup of cheese.
Chop 2 tablespoons of green onion.
Beat one egg in a small bowl.  

In a large bowl add the potatoes, cheese, and onion.
Gradually add the egg and flour to the mixture until you get a consistency that you are happy with. 
It should be wet enough to stick together but still be able to keep a shape and not stick to your hands. 

Make 12 equally sized balls of potato and then use your hands to flatten them into patties about 1/2 inch thick. 

Pour about 1/2 cup of flour into a shallow dish and dredge each of potato patties until they are covered in flour. 

In a pan, add 3 to 4 tablespoons of vegetable oil and bring to medium heat. 
Once the oil is hot, add the patties one at a time. Cook the patties in small batches so that you don't overcrowd the pan.

* To keep the patties easy to work with, keep the them cold in the fridge in between frying batches. 

Use a small spatula to flip up and edge to check how brown they are, and flip if they are ready. Make sure that you don't flip the patties too soon or else they won't get brown and crispy

Once both sides are brown, remove from the pan and place on a plate covered in paper towels, to absorb the oil. 
While they are still hot, sprinkle with salt. 

Done!  

They should be crispy on the outside and soft and cheesy on the inside....let the drooling begin!


Sunday, November 23, 2014

Cranberry Orange Butter

That's right people.....butter.
Don't worry, there will be no churning involved. 

I made this butter a couple of years ago for Thanksgiving and it was a hit.
Recipes like this are a great way to bring something unique to a very traditional holiday....or any other day.

Ingredients: 
1/2 cup of unsalted butter
1/4 cup of finely chopped dried cranberries
1/2 teaspoon of orange zest 


Let the butter soften so that you can easily mix in the other ingredients. 
Finely chop the dried cranberries and zest the orange. 


In a bowl, thoroughly mix the butter, cranberries, and orange. 
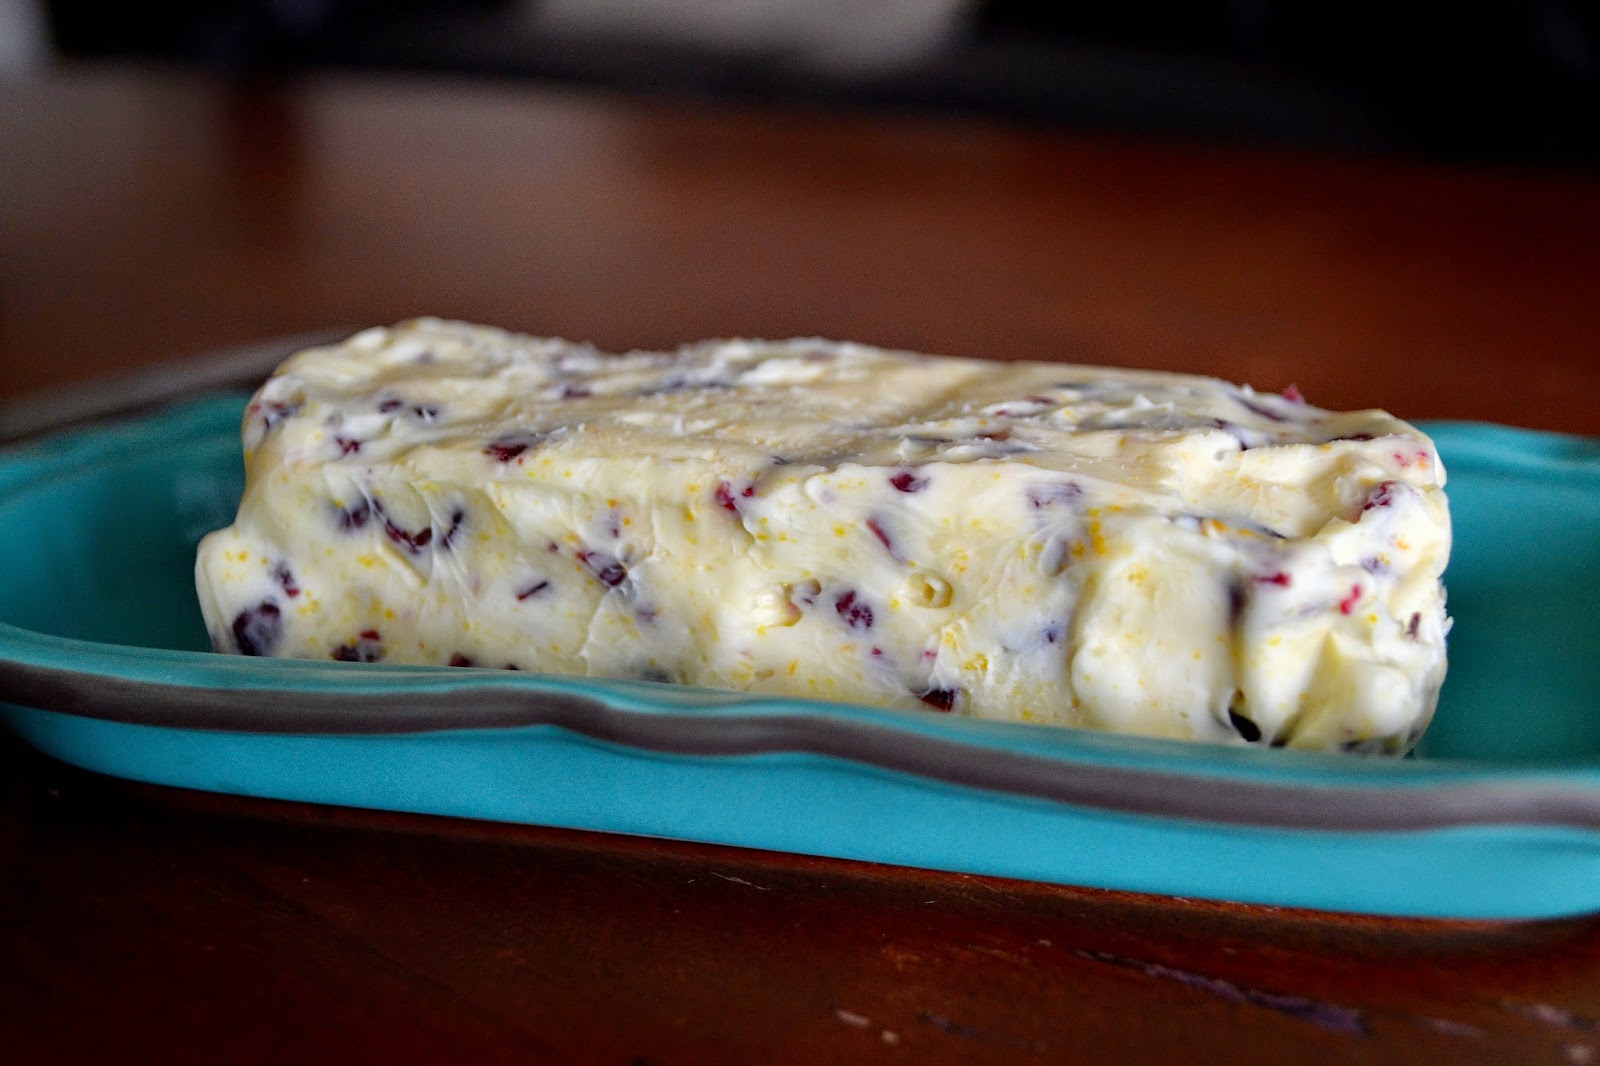
You can leave the butter in a small bowl and be finished, but I wanted mine to still look like a stick of butter so there were a few more steps. 

Use a piece of foil, and spread the butter into the shape of a rectangle.
Don't worry to much on making it look perfect...it's homemade!!


Fold the foil over and put into the refrigerator to harden. 


Once it has set, place on a pretty dish to make a new Thanksgiving table addition. 


Sunday, November 16, 2014

Simple Home Fries

So as I've mentioned before, I'm not much of a breakfast person.
I have my cereal and that makes me happy, but on the weekends I try to make at least one hearty breakfast to fill us up until dinner. 

There is one little problem....I DESPISE EGGS, which happen to be a main breakfast ingredient. 
They smell gross and have a horrible texture and I will only eat them two ways;
1. Extremely runny and mixed into hash browns
2. Eggs benedict....because everything tastes good smothered in hollandaise sauce

These are my favorite hash browns, but I must admit my mom always gets them a lot crispier!!

Ingredients:
3 medium potatoes 
1/4 of diced onion 
1/4 cup of diced red bell pepper
1/4 cup of milk
1 1/2 Tablespoons of flour
1 Tablespoon of butter
*Makes 3 servings

Cut the potatoes into bite sized cubes


Place in a pot, cover with water and bring to a boil.
Boil for about 5 minutes or until tender when poked with a fork.

Meanwhile chop the bell pepper and onion and place in a bowl.
Drain potatoes and add to the bell pepper and onion. 


In a separate bowl, whisk together the milk and flour (called a slurry). 
Gradually pour over the potatoes just until it has coated all of them (this might mean that you don't use all of the slurry). 

In a pan, melt the butter over medium heat.
Once melted, add in the potatoes. 


Season with salt and pepper, and occasionally flip them. 
Remember that the potatoes are already cooked, so this is just to brown them. 
Once browned, you are ready to eat. 


Sunday, November 9, 2014

Fall Photos

So it's always pretty difficult to get Kevin into pictures but because it's fall and he knows what makes me happy, he agreed to having a photo session...and the results were pretty darn adorable! :)

Photo credit and hair credit go to my good friend Kera!
You can find out more about her on The Simple Things Blog or if you live near the Palm Beach county area and have inquiries about her photography services you can email her at kpellett13@gmail.com


Soft Baked Pumpkin Pie Cookies

Raise your hand if you like cookies...now raise your hand if you like pumpkin pie. 

Ok, now that we have confirmed that everyone on Earth likes both of these things, lets put them together!

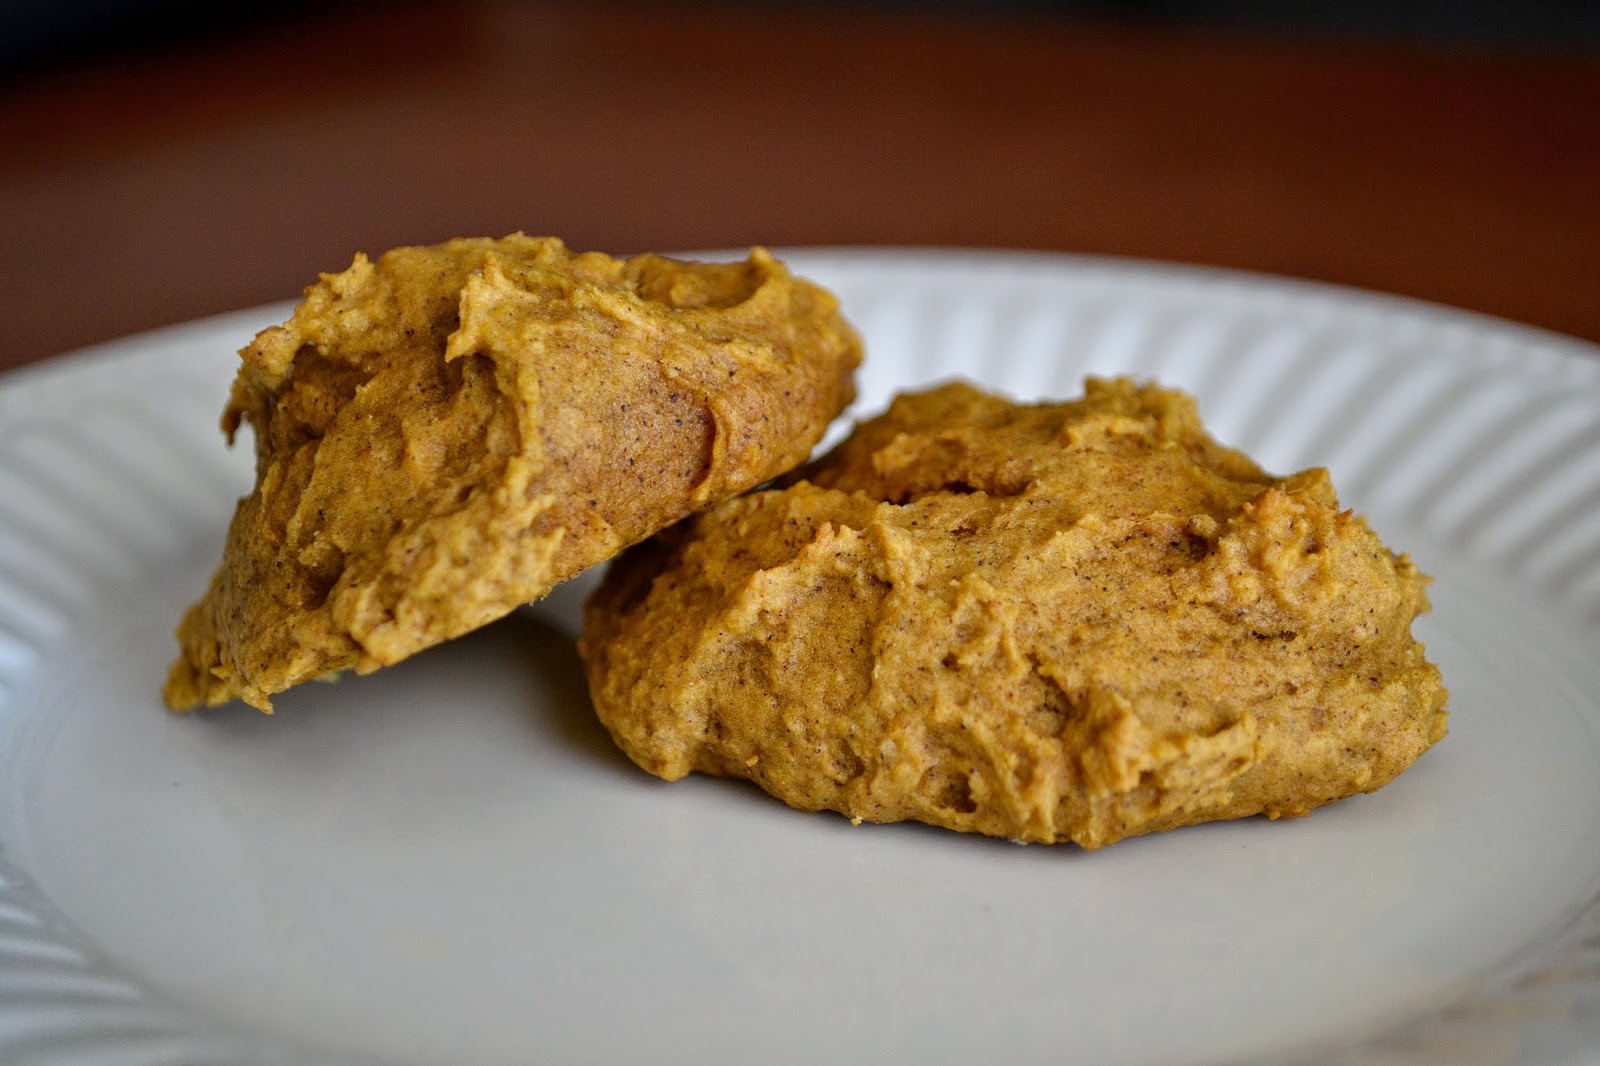
Not only do these cookies taste just like pumpkin pie but they are soft baked, which are the best kind of cookies. I never have understood people who like "crispy" cookies. I think I was the only child on this planet that thought that the cereal Cookie Crisps sounded gross because they seemed like they would be hard as rocks. 

Ingredients: 
1/2 cup of butter, softened 
1/2 cup of sugar
1/2 cups of firmly packed brown sugar
1 (15 oz.) can of pumpkin puree 
1 egg
1 teaspoon of vanilla extract
2 cups of flour
1 teaspoon of baking soda
1 teaspoon of baking powder 
2 teaspoons of cinnamon 
2 teaspoons of pumpkin spice
1/4 teaspoon of salt 
*Makes 36 cookies 

Preheat oven to 350 degrees. 
Cream the butter and sugars together until fluffy. 


Blend in pumpkin, egg, and vanilla extract. 


In a separate bowl, stir together flour, baking soda, baking powder, cinnamon, pumpkin spice, and salt. 


Slowly mix the dry ingredients into the pumpkin mixture until thoroughly blended. 


Drop by rounded tablespoons, about 3 inches apart, onto an ungreased baking sheet or stone. 


Bake for 10-12 minutes until the edges start to brown and they are firm to the touch. 
Remove from the oven and let sit on the pan for five minutes at the most. 
Remove from pan, and place onto a cooling rack. 


It's as easy as that!!!
A cream cheese frosting could be a good addition to these cookies, but I like them just the way they are!