This weeks recipe is so adorable, I'm excited to share it with all of you.
Fourth of July is just around the corner and what is more perfect than an apple pie, especially one that looks this good!
Like promised, I always make things as easy as possible so anyone can make my meals, and this is no exception. Any pie is a labor of love, but this is nothing to be intimidated by!
I decided to use a small cast iron skillet for this recipe because it gives the pie a unique look, plus these pans are made in the USA! The original plan was to make little personal pies with 5 in. pans but they were impossible to find in store, so I settled for an 8 in. that was still small enough for just two people to share, which is perfect for us.
I mean when something starts out with these ingredients, it's bound to be amazing.

Ingredients:
Cast iron skillet (mine was 8 in.)
Refrigerated pre-made 9 in. pie crust (comes with two dough rounds)
3 lbs. of apples (will vary depending on size of pan)
1/2 cup of sugar
1/4 cup of flour
3/4 tsp of ground cinnamon
1/2 tsp of ground nutmeg
1/8 tsp of allspice
1 tsp of salt
1/2 tsp of lemon zest
2 tsp of fresh lemon juice
1 egg (for eggwash of top of crust)
In a large bowl combine sugar, flour, cinnamon, nutmeg, allspice, salt, lemon zest, and lemon juice.
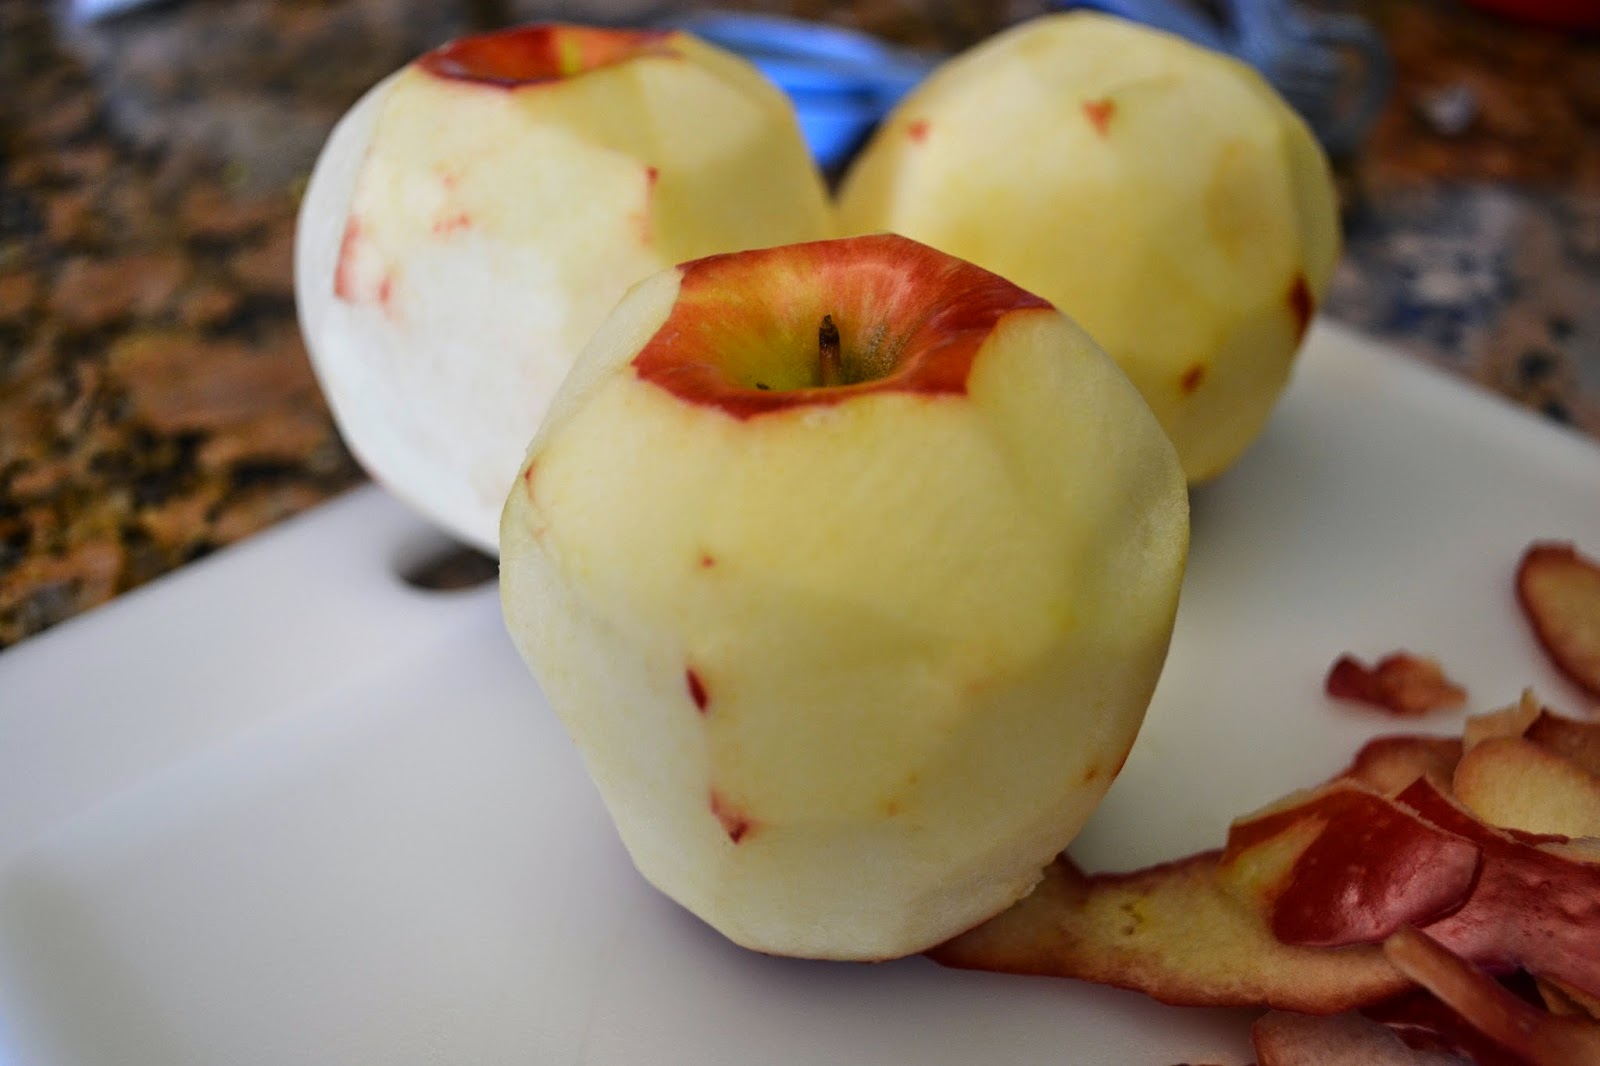
Peel your apples.
I peeled and cut all my apples by hand because I wanted it to be rustic and look handmade, but there are many options for peeling apples for pie. If your peeling by hand like me, just be sure to watch your fingers and be careful!
Cut your apples into sixteen equal parts or in other words....
Cut in half, cut in half again, and again, and again.
Just make sure that you cut out all the tough parts in the middle and that no seeds end up in the pie.
While your peeling and chopping, take your dough out of the refrigerator so it will become easier to work with.
Mix your apple slices into your sugar mixture....your hands are your best tool to make sure everything is coated.

Start to pre-heat your oven to 400 degrees.
Take one of your thawed pie crust rounds and carefully drape inside of your skillet, making sure it doesn't rip.
I didn't have to roll out my crust because it was just the right size to fit in the pan and have about 1/2 in. draping over the edge. If you use a bigger pan, you may have to roll the dough thinner, to have enough left over of the edges.

Poke a couple of holes in the bottom crust with a fork, to prevent bubbling.
Pour in your filling.
If it looks like a lot of filling, don't sweat it.
You want your pie to look really full because everything will condense as it gets softer in the oven.

Next comes the top!!
I chose to do a lattice crust because aesthetically it looks adorable, but feel free to cover the top completely with the other round of dough.
A lattice crust looks very intimidating, but don't fear, it is so easy!!
Lay the dough flat on a cutting board, and use a pizza cutter to cut into 1/2 in. stripes.

Lay parallel stripes, at equal space apart, on top of your pie.

Now peel back every other stripe, half way so you can lay a perpendicular stripe across the middle.


Place your perpendicular stripe on the middle of the pie, and then place your peeled back stripes back in place.
Alternate the stripes being peeled back until you have finished the whole pie.
For a detailed step by step tutorial on lattice crust, use this helpful link...
Cut off any large amounts of excess dough on the edges, but leave enough to pinch together.


Next, you are going to make an egg wash to brush on your crust, so it gets nice and brown in the oven.
Whisk together one egg with a splash of water, and lightly brush over your lattice and side crust.
Lightly sprinkle sugar on top of the egg wash.

Place small pieces of foil on the edges of your crust, so it doesn't burn while baking.

Inside your oven, make sure you place a baking sheet lined with foil on the rack underneath your pie. If your pie bubbles over, you definitely don't want it dripping in your oven.
Place you pie in the heated 400 degree oven for 45 min. to 1 hr. or until the crust is brown and the filling is bubbling.
Aaaaaaaaddddddd.....


I hope everyone enjoys making this recipe as I did!
Most importantly, have a wonderful fourth of July, and be safe.
God bless America!!
That pie looks amazing! Hope you had a good 4th. How's your jaw?
ReplyDeleteThanks! I had a wonderful 4th watching the village fireworks. Unfortunately I didn't have time to make it to The Mermaid this trip, but I will definitely have to stop in next time I'm in town! My jaw is doing much better for the moment. The dentist says I have some joint issues for sure, and that the recent pain is probably caused by excess stress and clenching my jaw in my sleep :0 I see a relaxing vacation in my near future!
Delete